In this article, we are going to discuss the easy methods to import PST file to shared mailbox Office 365 without ant data loss. If you are looking for the same solution, then you are at the right place. Here, we have discussed 3 easy solutions to upload PST files to Shared mailbox Office 365
If you are an Outlook user, then you must know about PST files. These are commonly used files to store emails, contacts, calendars, and other mailbox data. Many organizations that are using Microsoft 365 depend on Shared mailboxes to streamline team communication and collaboration.
Reasons to Import PST File to Shared Mailbox Office 365
- Shared mailboxes allow multiple users to access the same data.
- All team members can reply to or manage emails, hence productivity increases.
- PST data becomes accessible via the cloud on any device without relying on Outlook.
#1 Method: Import PST Files Using Import/Export Wizard
This method involves three main steps to manually import PST to Office 365 shared mailbox using Outlook.
Step 1: Configure Shared Mailbox in Outlook
- Open Outlook on your Windows PC.
- Click on the File > Add Account option.
- Now, enter the shared mailbox address and tap on Connect.
- Then, provide the shared mailbox password and sign in.
- Finish the setup. Now the mailbox is accessible in Outlook.
Step 2: Import PST File into Outlook
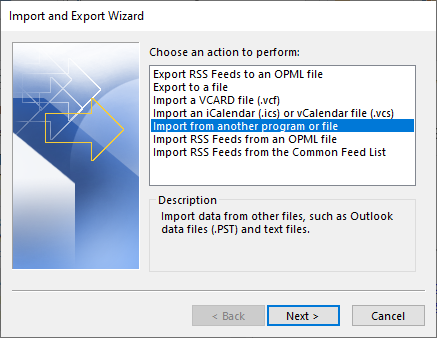
- Go to File>>Open & Export>>Import/Export to open the import export wizard.

- Select Import from another program or file and click on Next.
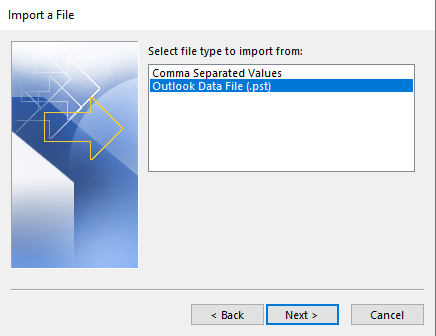
- Choose Outlook Data File (.pst) and click Next.
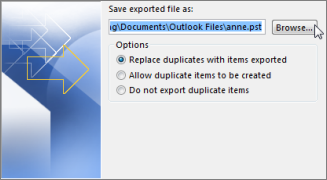
- Browse and select the PST file that you want to export.
- Choose Do not import duplicates and hit the Next button.
- Enable Include subfolders to keep the hierarchy intact.
- Select Import items into the same folder in a shared mailbox.
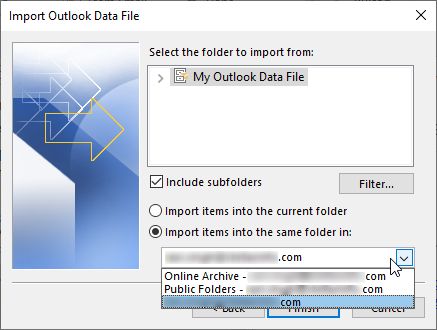
- Click Finish.
Step 3: Sync with Shared Mailbox
- Open Outlook and click Send/Receive option.
- Select Send/Receive All Folders.
- PST data will sync with your shared mailbox.
Limitations of the Import/Export Method
- Requires Outlook installation to import PST file to shared mailbox Office 365.
- Needs knowledge of IMAP settings.
- Can’t handle large or multiple PST files efficiently.
#2 Method: Import PST File to Shared Mailbox Office 365 Using SAS URL Method
This process contain 6 steps which are mentioned below. If you want to know each of them in detail, then read the below steps in detail.
Step 1: Assign Import/Export Role
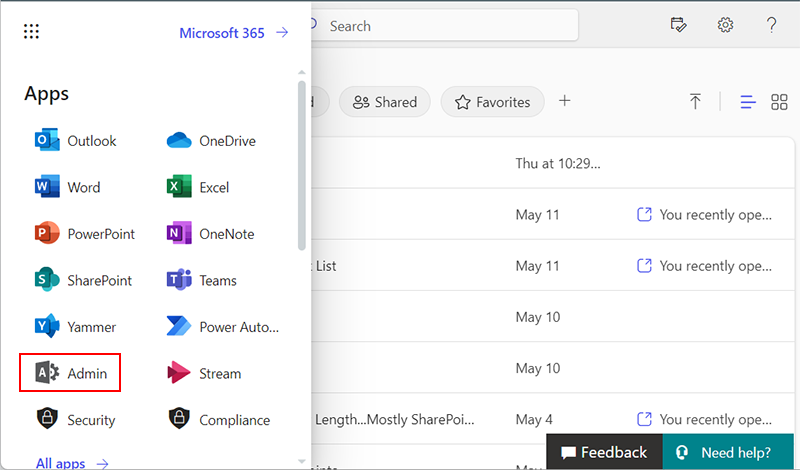
- Log in to Microsoft 365 Admin Center.
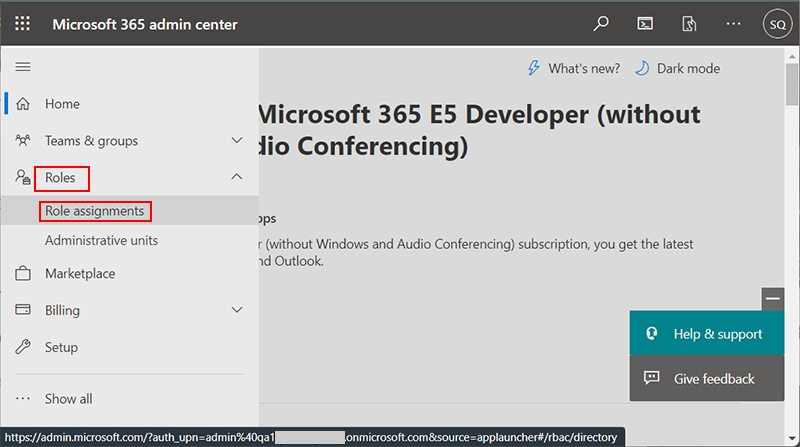
- Go to Roles>>Admin Roles>>Compliance Management.
- Create a new role group.
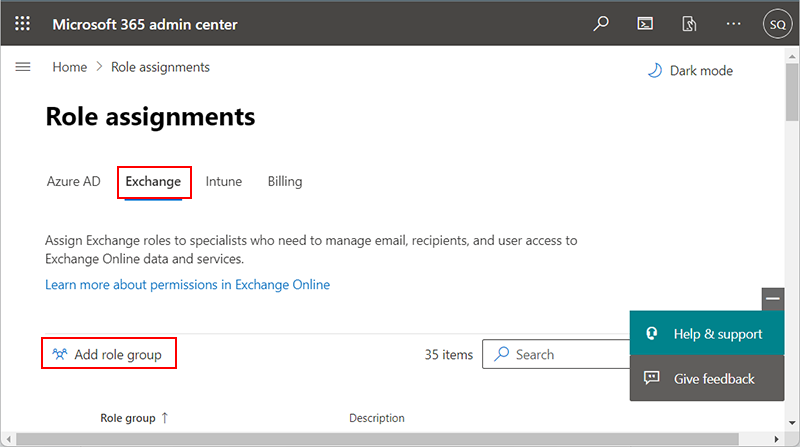
- Add Mail Recipients permission.

- Add the shared mailbox admin.
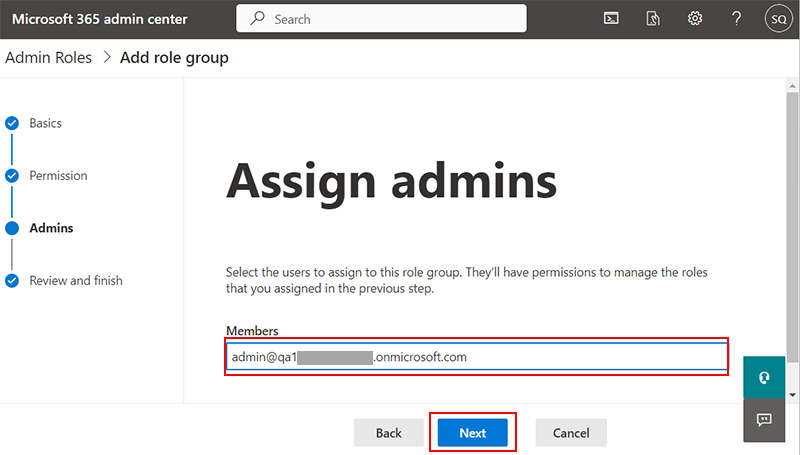
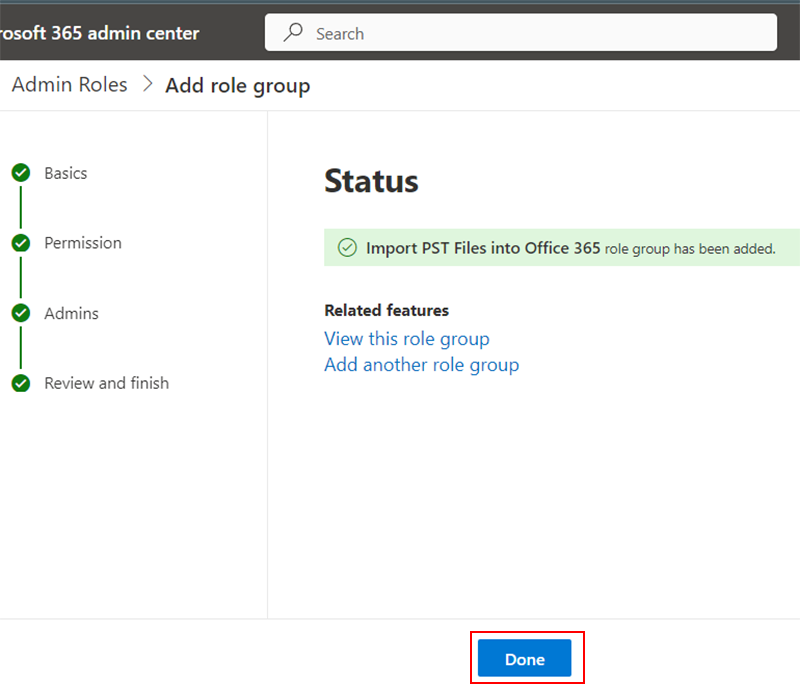
- Save the role group. Wait 24 hours for it to apply.
Step 2: Create SAS URL
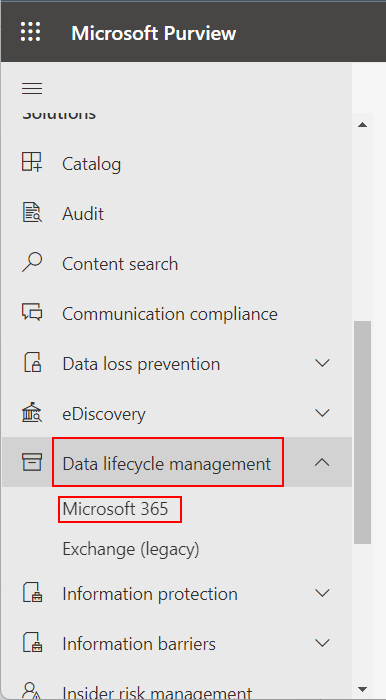
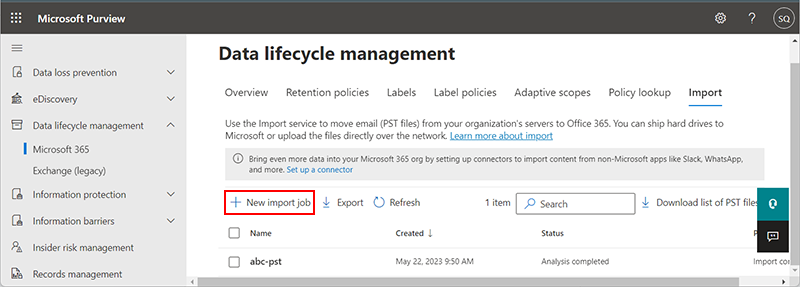
- Open Microsoft Purview>>Data lifecycle management>>Import.
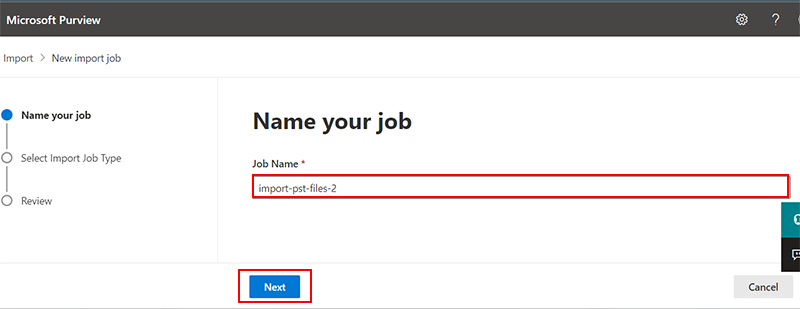
- Click +New import job.
- Name the job and click Next.
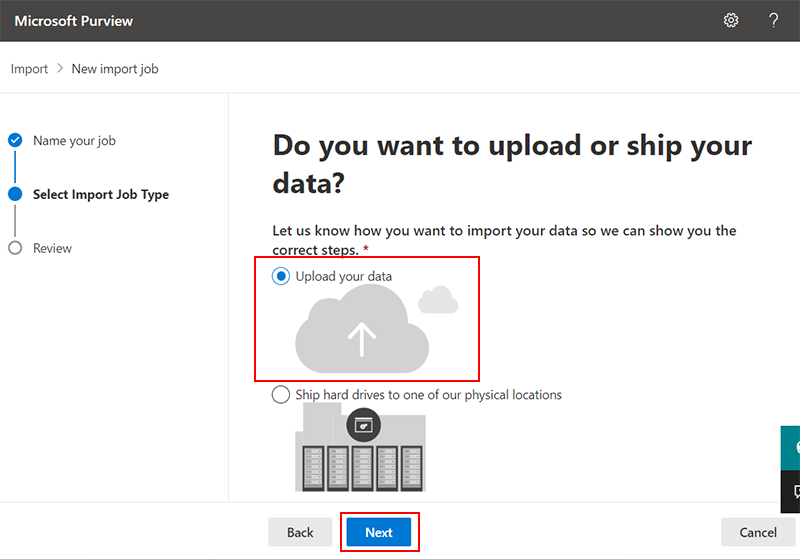
- Choose Upload your data > Next.
- Click Show network upload SAS URL to create url.
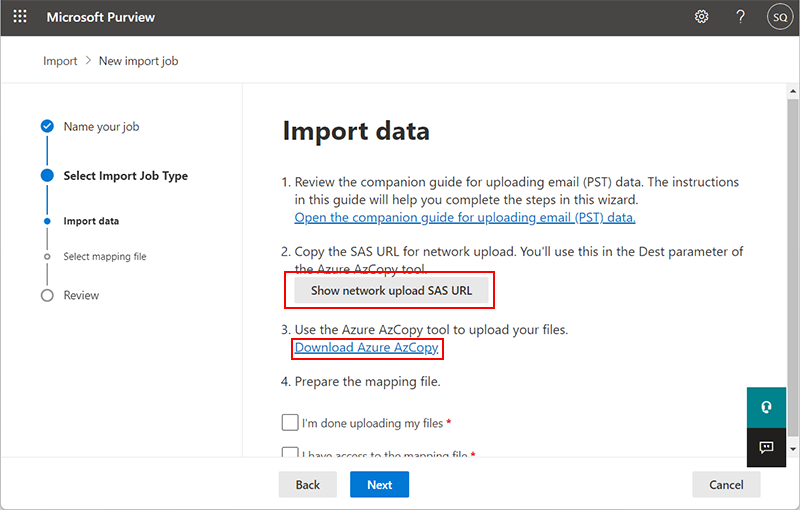
- Copy the SAS URL for later.
Step 3: Upload PST to Azure with AzCopy
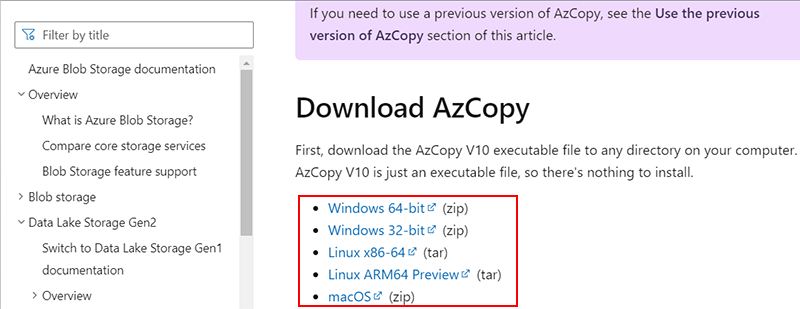
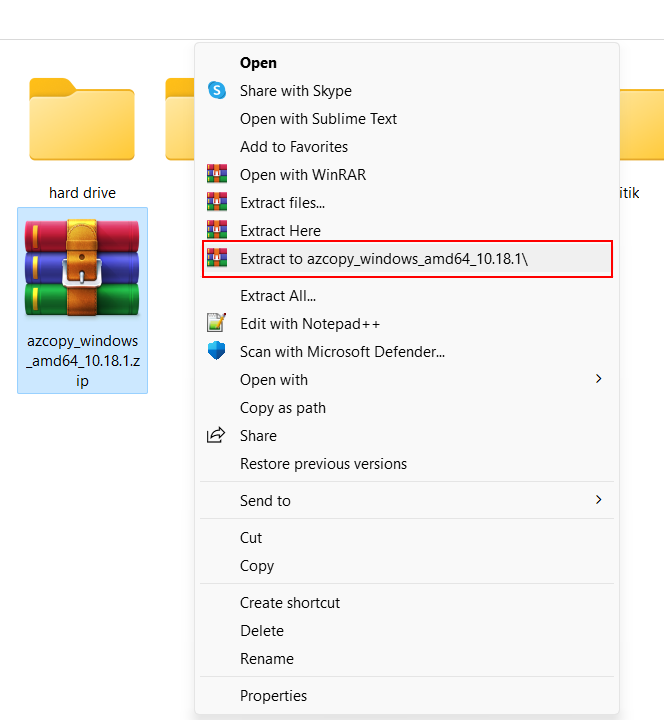
- Download Microsoft AzCopy tool according to computer specifications.
- Extract and run azcopy.exe file on your PC.
- Use Command Prompt:
cd <source of azure.exe file path>. After that Press Enter key on your keyboard and enter this command like
azcopy.exe copy "<Source location of PST files>" "<paste SAS URL>".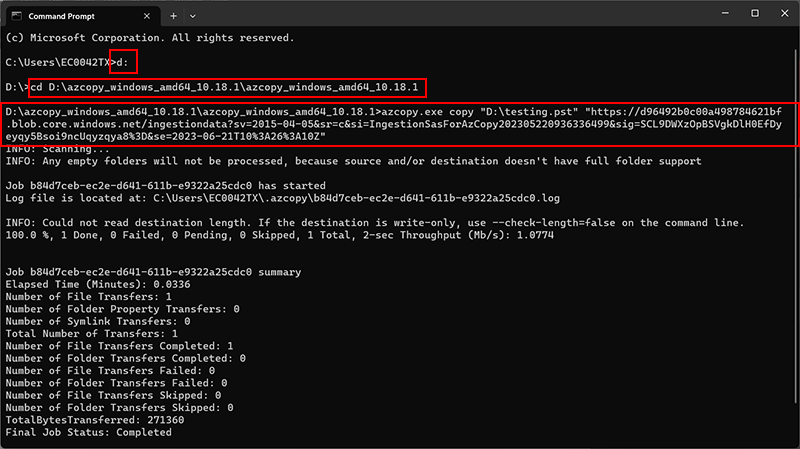
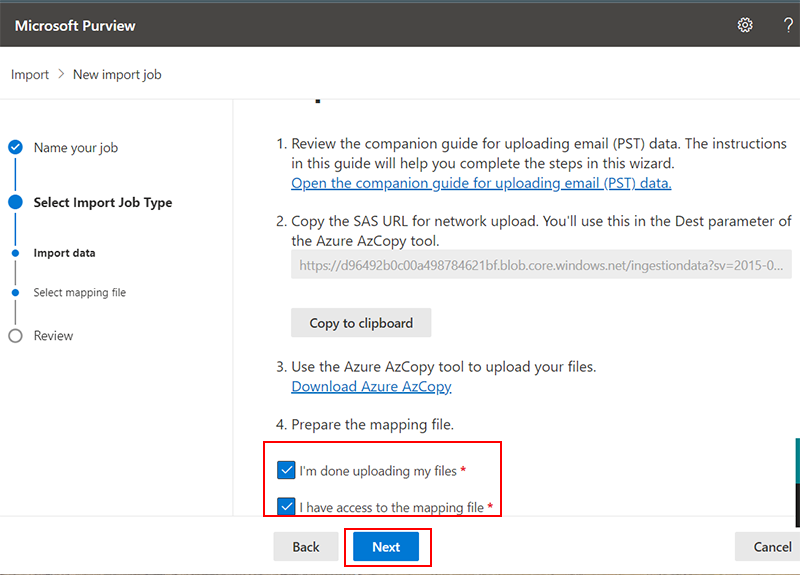
- In Microsoft Purview, enable the options I’m done uploading my file and I have access to the mapping file. Then, click Next to continue.
Step 4: Create CSV Mapping File
-
- Open Microsoft Excel and start a new sheet.
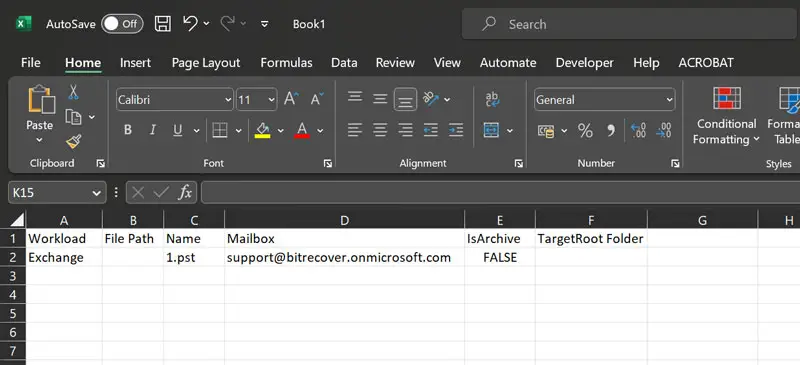
- Add these columns with data:
- Workload: Exchange
- Name: Name of the PST file
- Mailbox: Shared mailbox email address
- IsArchive: FALSE (TRUE if importing to archive)
- TargetRootFolder: Leave blank
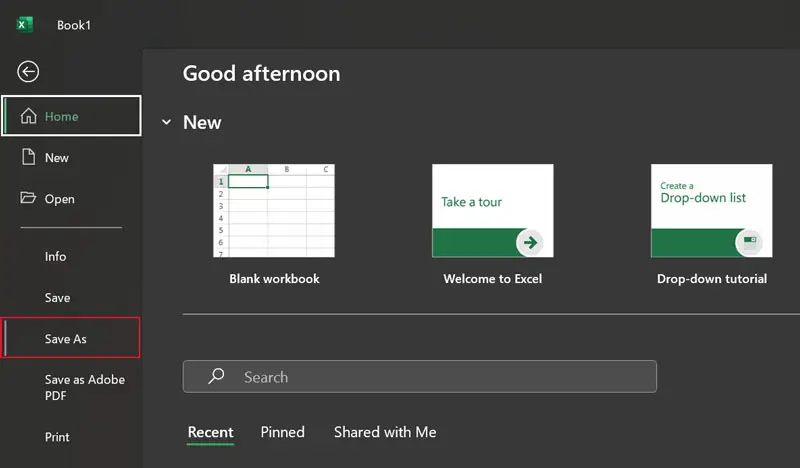
- Go to File>> Save As.
- Select
CSV UTF-8 (Comma Delimited)as the format and save.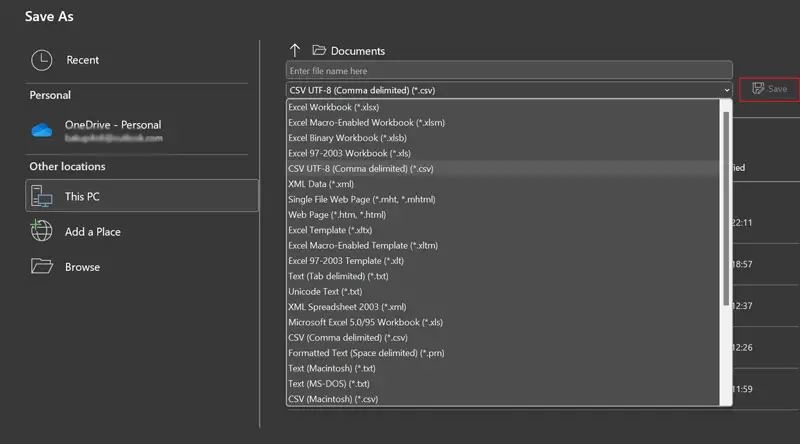
Step 5: Upload and Import Using CSV
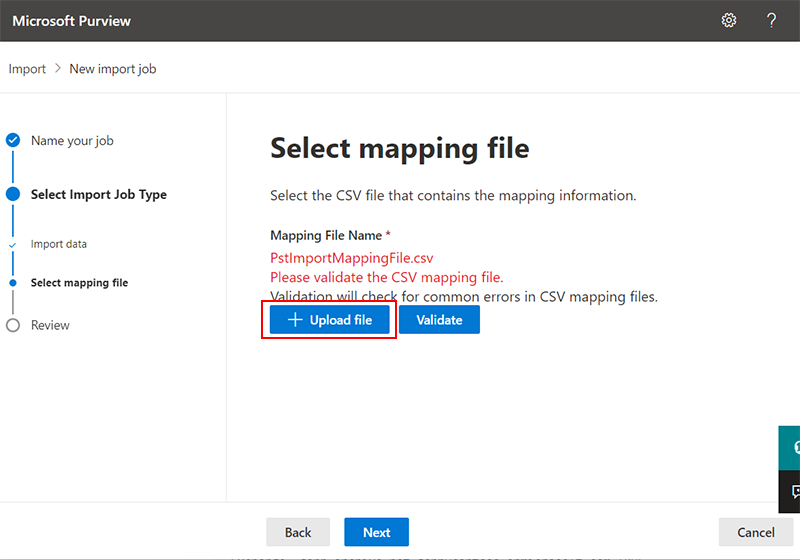
- Go back to Microsoft Purview.
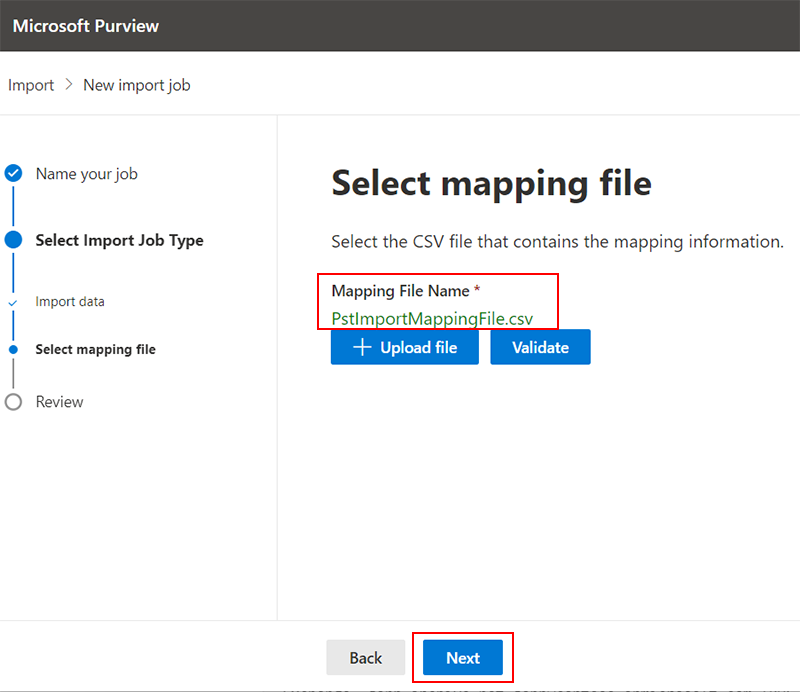
- Upload the CSV file.
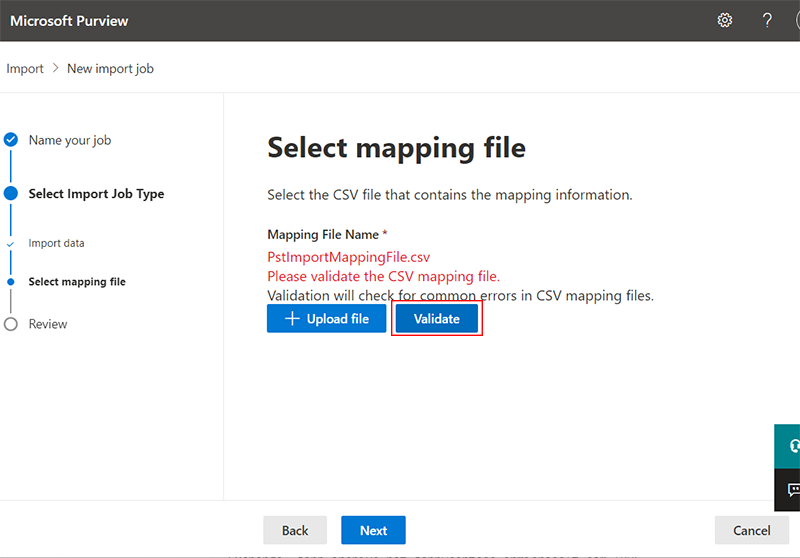
- Click Validate. After validation, click Next.
- Choose whether to filter data or import all.
- Click Submit to begin the import.
Step 6: Access Data in Shared Mailbox
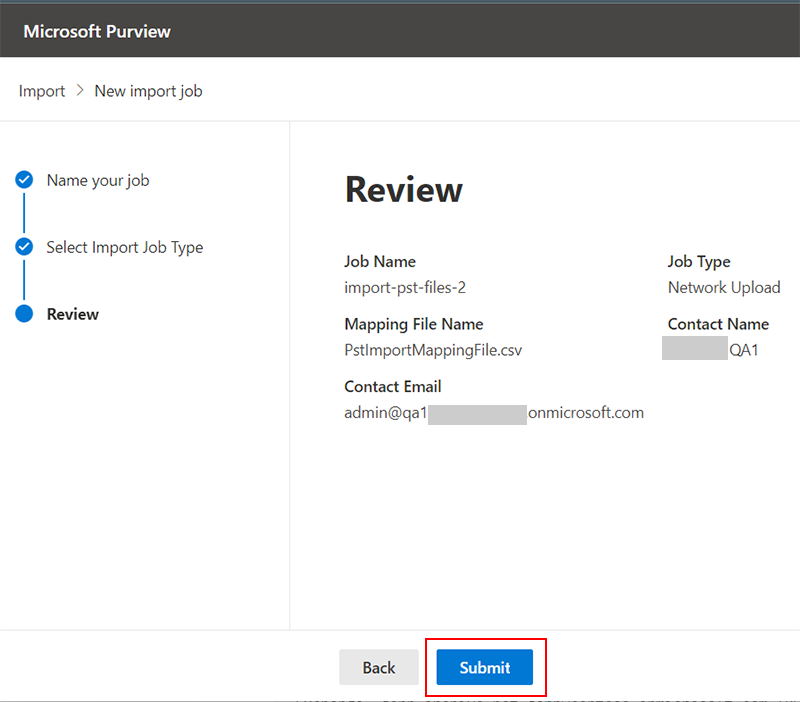
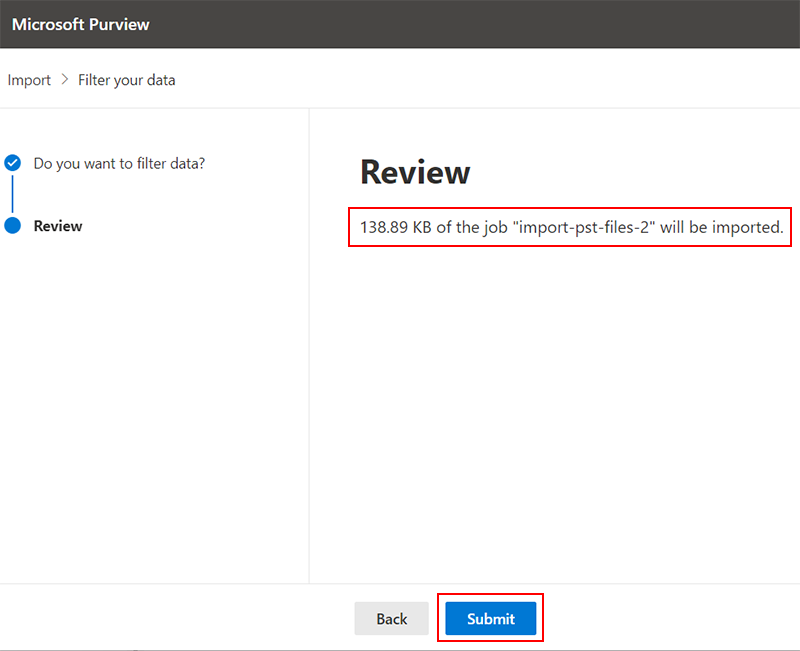
- Review all your settings and click Submit.
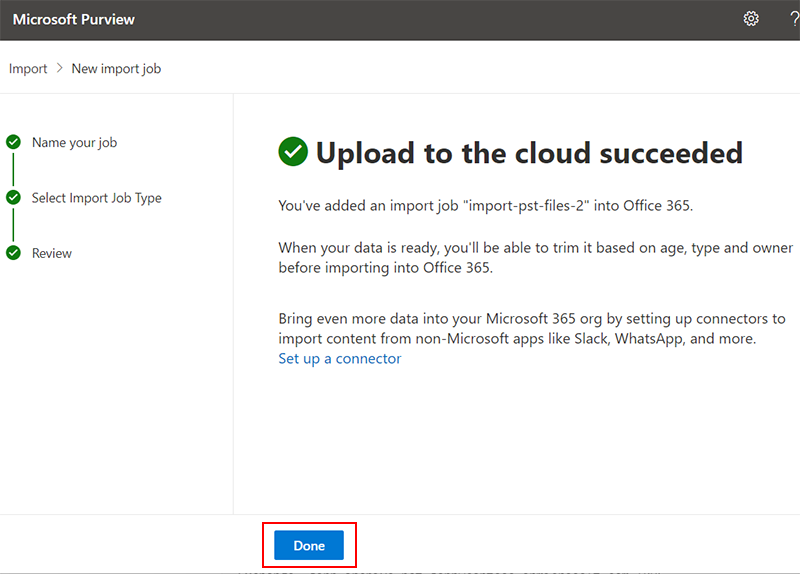
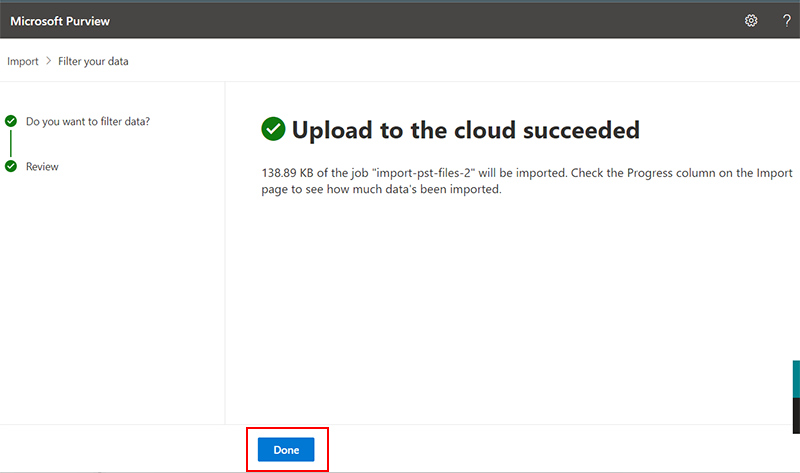
- You will see a message that your PST file has been uploaded to AzCopy cloud storage. Click Done to continue.
- Wait for the PST analysis to finish.
- Once it’s done, select your PST file and click on Import to Office 365.
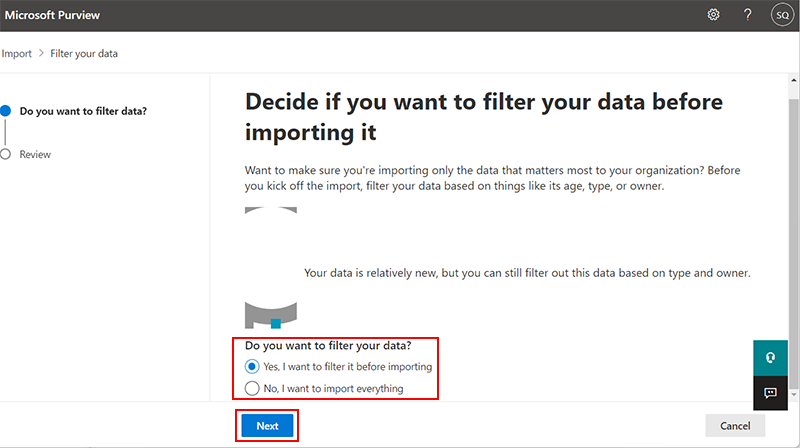
- Now choose whether you want to import everything or only filtered data. Select the filter option and click Next.
- A message will appear showing the size of the PST file to be imported. Click Submit to continue.
- The import process will begin. After some time, a popup will appear showing Success.
- The full import may take a few hours to complete.
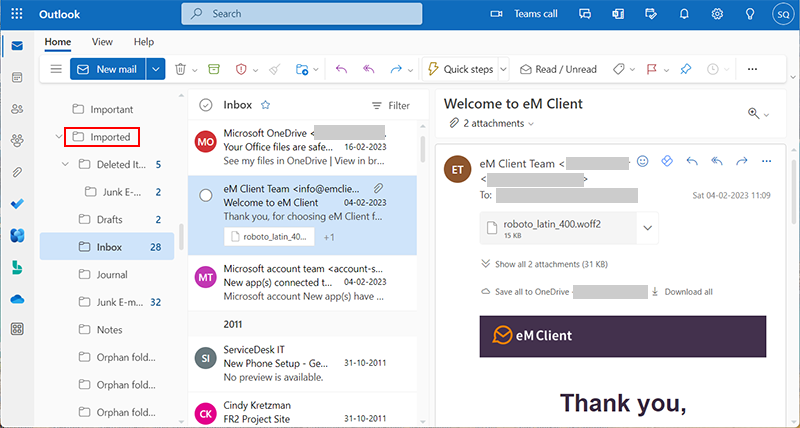
After that, log in to your Office 365 account and open the Outlook application. You will now see the imported PST file data in the shared mailbox.
Limitations of the SAS URL Method
- The process is quite lengthy, and you might require lots of technical knowledge.
- You need to follow several steps to import PST file to shared mailbox Office 365.
- This method is only suitable for moving PST files up to 20 GB into a shared mailbox.
- You will not get instant results, as it can take up to 24 hours to complete the process.
Best Technique to Upload PST to Shared Mailbox Office 365
If you want to avoid manual steps and technical setup, use Yota PST Converter. It is a user-friendly solution that directly imports PST files into a shared mailbox account. No technical expertise is required to migrate PST files to shared mailbox Office 365 using this tool. Plus, it can maintain data integrity throughout the process. You just need to followa few simple steps and you will be able import PST files to shared mailbox.
Steps to Import PST File to Shared Mailbox Office 365 are:
-
- Download Yota PST Converter on your Windows PC.
- Click on Open>> Email Data Files>> Outlook PST Files.

- Now, quickly preview the files before exporting the files. Click on Export and select Office 365 as the target location.

- Finally, enter the login credentials of the Office 365 account. Finally, tap on the Save button.

So this is how you can easily upload PST file to shared Office 365 mailbox without Outlook installation.
Conclusion
So, we have discussed the 3 most trusted solutions to import PST file to shared mailbox Office 365 account. Although manual methods are free but they have some limitations. You might lose your data if you don’t follow the proper steps. So, it is advisable to go with the automated solution. It is the ultimate solution to move PST files to a shared mailbox without any data loss.
In case you have any queries, our support team will be happy to assist you 24/7, so don’t hesitate to contact us.
Frequently Asked Questions
Can I import PST to shared mailbox without Outlook?
Yes, you can use the automated tool for migrating PST files to shared mailbox Office 365 without installing Outlook.
I want to export multiple PST files to shared Office 365 mailbox. Can I use this software?
Yes, using this tool, you can easily export multiple PST files.
How to create shared mailbox in Microsoft 365?
- Sign in to Microsoft 365 Admin Center
- Go to the Exchange Admin Center
- In the Exchange Admin Center, go to Recipients > Shared.
- Click on “+ Add a shared mailbox” or “New shared mailbox.”
- Enter a name for the shared mailbox.
- Enter the email address you want to assign (e.g., support@yourcompany.com). Click Create.
- Once the mailbox is created, select it and click Edit to add users.
- Click Edit next to “Members,” then add the users who need access to this shared mailbox.