In today’s post, we will provide the best approaches to transfer iiNet email to Outlook. If you are a iiNet webmail user and want to transfer emails from iiNet to Outlook, read the blog till the end. Here you will get satisfactory result to your concern.
iiNet is an Internet service provider offering broadband, naked DSL, VoIP, and telephone services. Using iiNet Webmail, users can easily access their account on any web browser and device via internet connectivity.
User Queries: Unable to Transfer iiNet Email to Outlook
Query 1: Hello, I just bought a new computer and am now trying to add iiNet email to Outlook. I’ve tried over a dozen times, but the settings our server assigned us aren’t being accepted. Can someone guide me on how can I add iiNet account in Outlook.
Query 2: I am trying to add my iiNet email to Outlook. After adding the IMAP account settings, entering the password, and clicking “Connect”, I got the following error message: “The connection to the incoming mail server (IMAP) was lost. Please check your incoming mail server (IMAP) settings and try again.” I have contacted iiNet several times and they say the problem lies with Microsoft. Please provide me with any other solution.
Add iiNet Email to Outlook Using the Manual Method
Outlook offers an Add Account option to the user that lets them transfer iiNet email to Outlook. Follow the steps below to set up your iiNet account in Outlook:
- Open the Outlook application on your PC and click on File > Add Account.
- Select “Manual setup or additional server types” and click Next.
- Now, choose “POP or IMAP” and again click Next.
- In the User Information section, enter your name and iiNet email address.
- Then select IMAP as the account type in the Server Information section.
- For incoming mail server, enter “mail.iinet.net.au”.
- For the outgoing mail server, enter “mail.iinet.net.au”.
- In the Logon Information section, enter your iiNet email address and password.
- Click on More Settings and go to the Outgoing Server tab.
- Check the box that says “My outgoing server (SMTP) requires authentication” and select “Use same settings as my incoming mail server”.
- Go to the Advanced tab and enter the following settings:
– Incoming server (IMAP): 993
– Use the following type of encrypted connection: SSL
– Outgoing server (SMTP): 587
– Use the following type of encrypted connection: TLS - Click OK and then click Next to complete the setup iiNet account in Outlook process.
That’s all!
Transfer Emails from iiNet to Outlook Using Automated Tool
If you cannot transfer iiNet email to Outlook manually, then you must try Yota Email Backup Wizard on your system. This utility is super easy to use and lets users quickly accomplish this task without any hassle. The software allows you to backup iiNet emails to the computer along with attachments. It offers an option to save emails locally in several file formats.
You can export iiNet emails to PST file format which is supported by MS Outlook. It has the power to automatically load mailbox data from your account once you enter the credentials of your account to the software. Most importantly, not a single information of about your account is stored in the database throughout the email conversion process.
The software allows you to export multiple emails from iiNet to PST at once. You can also select one or more folders from which you want to move your emails. All meta properties and folder hierarchy of your emails are preserved during the email migration. Apart from that, the software provides IMAP in the list of multiple saving options that lets you import iiNet email to Gmail and many more accounts.
To imply transfer emails from iiNet to Outlook, download the tool for free. Afterward, install it on any Windows-based computer such as Windows 11, 10, 8, and later versions.
Steps to Transfer iiNet Email to Outlook are as follows:
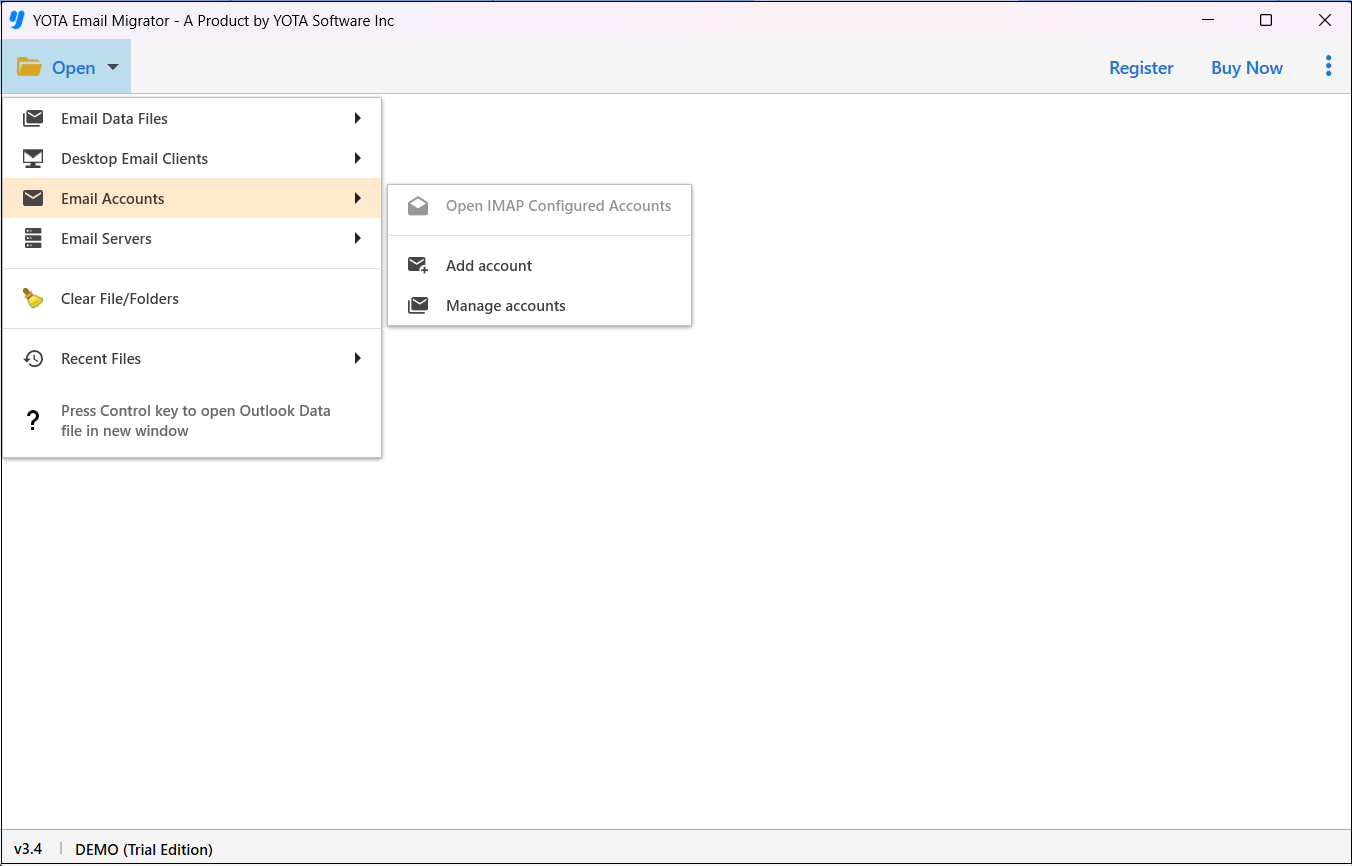
- Run the iiNet to Outlook Tool and hit the Open menu from the top.
- Then select Email Accounts and click on the Add Account option.
- Next, enter your iiNet Webmail Email Address and App Password.

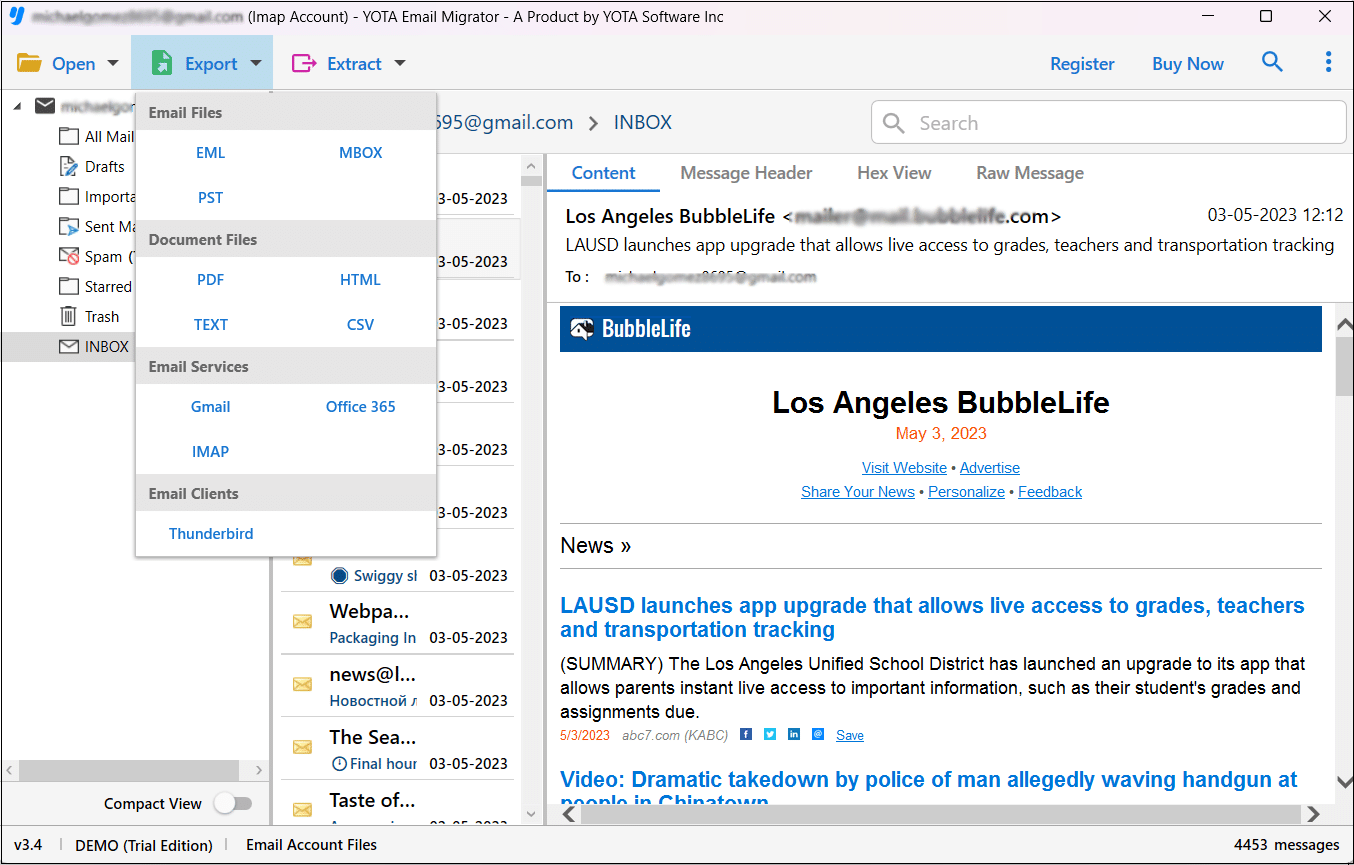
- Choose the email folder and click Export then pick PST file format.
- Browse for a location to store PST and hit the Save button.
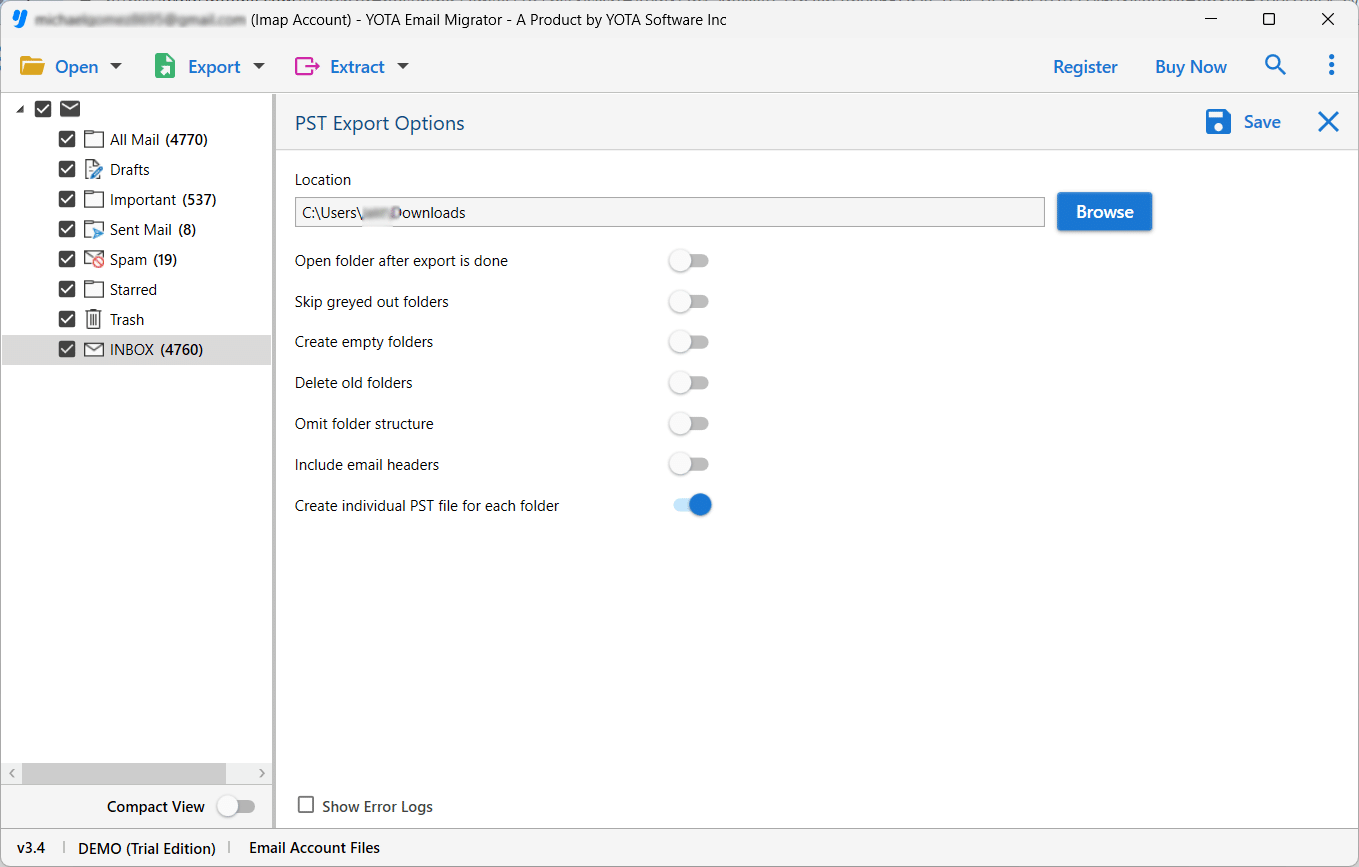
The tool starts exporting emails from iiNet to PST file format and within a few minutes, you will get a message of successful email conversion completion on the screen.
Now, you only need to import the exported PST file into your Outlook account using the import/export option. This is how you can seamlessly transfer iiNet email to Outlook using the best tool.
Final Words
This blog post describes manual and automated solutions to transfer iiNet email to Outlook. Sometimes, users are unable to manually add iiNet email to Outlook for various reasons. To make this task easier, we recommend using the automated IMAP backup tool. It allows you to export iiNet emails to PST file format and easily import them into any version of Outlook later.
I hope all your problems regarding how to transfer emails from iiNet to Outlook are solved after reading the blog.